0.88伽马bug
如果你有两个源,其中一个明显比另一个亮,那么稍微亮的源很有可能受到所谓的伽马bug的影响。 如果是这种情况,请执行以下操作(针对16位),看看是否能解决这个问题:
out = core.std.Levels(src, gamma=0.88, min_in=4096, max_in=60160, min_out=4096, max_out=60160, planes=0)

不要在低位深下执行这一操作。较低的位深可能会导致色带。
For the lazy, the fixlvls wrapper in awsmfunc defaults to a gamma bug fix in 32-bit.
深入解释
这个错误似乎源于苹果软件。 这篇文章是人们可以在网上找到的鲜有提及伽马BUG的文章之一。其原因可能是软件不必要地试图在NTSC伽马(2.2)和PC伽马(2.5)之间进行转换,因为 \(\frac{2.2}{2.5}=0.88\)。
为了解决这个问题,每个值都必须提高到0.88的幂,尽管必须进行电视范围标准化:
\[ v_\mathrm{new} = \left( \frac{v - min_\mathrm{in}}{max_\mathrm{in} - min_\mathrm{in}} \right) ^ {0.88} \times (max_\mathrm{out} - min_\mathrm{out}) + min_\mathrm{out} \]
对于那些好奇有伽马BUG的源和正常源会有什么不同的人来说:除了16、232、233、234和235以外的所有数值都是不同的,最大和最常见的差异是10,从63持续到125。 由于可以输出同等数量的数值,而且该操作通常是在高比特深度下进行的,因此不太可能有明显的细节损失。 然而,请注意,无论比特深度如何,这都是一个有损失的过程。
双倍范围压缩 Double range compression
一个类似的问题是双倍范围压缩。 当这种情况发生时,luma值将在30和218之间。 这可以通过以下方法轻松解决。
out = src.resize.Point(range_in=0, range=1, dither_type="error_diffusion")
out = out.std.SetFrameProp(prop="_ColorRange", intval=1)
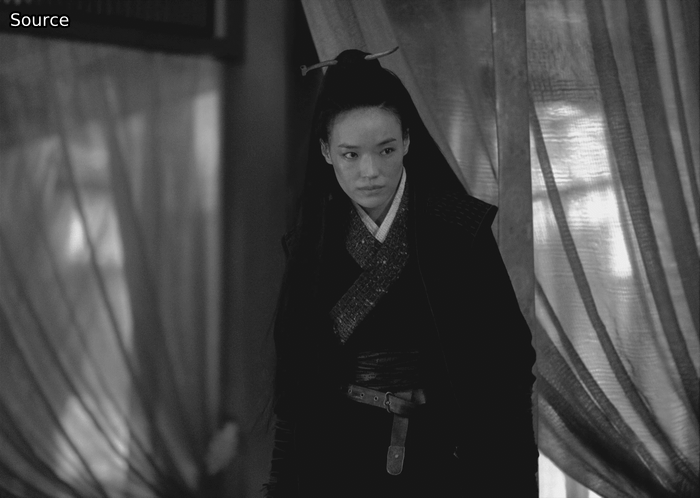
深入解释
This issue means something or someone during the encoding pipeline assumed the input to be full range despite it already being in limited range. As the end result usually has to be limited range, this perceived issue is "fixed".One can also do the exact same in std.Levels actually. The following math is applied for changing range:
\[ v_\mathrm{new} = \left( \frac{v - min_\mathrm{in}}{max_\mathrm{in} - min_\mathrm{in}} \right) \times (max_\mathrm{out} - min_\mathrm{out}) + min_\mathrm{out} \]
For range compression, the following values are used: \[ min_\mathrm{in} = 0 \qquad max_\mathrm{in} = 255 \qquad min_\mathrm{out} = 16 \qquad max_\mathrm{out} = 235 \]
As the zlib resizers use 32-bit precision to perform this internally, it's easiest to just use those. However, these will change the file's _ColorRange property, hence the need for std.SetFrameProp.
其他不正确的层级 Other incorrect levels
一个密切相关的问题是其他不正确的层级。要解决这个问题,最好是使用一个具有正确层级的参考源,找到与16和235相当的值,然后从那里进行调整(如果是8位,保险起见,在更高的比特深度中做)。
out = src.std.Levels(min_in=x, min_out=16, max_in=y, max_out=235)
然而,这通常是不可能修复的。相反,我们可以做以下数学运算来计算出正确的调整值:
\[ v = \frac{v_\mathrm{new} - min_\mathrm{out}}{max_\mathrm{out} - min_\mathrm{out}} \times (max_\mathrm{in} - min_\mathrm{in}) + min_\mathrm{in} \]
因此,我们可以从要调整的源中选择任何低值,将其设置为 \(min_\mathrm{in}\),在参考源中选择同一像素的值作为 \(min_\mathrm{out}\)。对于高值和最大值,我们也是这样做的。然后, 我们用16和235来计算 (再次,最好是高位深度--16位的4096和60160,32位浮动的0和1等等。) 这个 \(v_\mathrm{new}\) ,输出值将是上面VapourSynth代码中我们的 \(x\) 和 \(y\)。
为了说明这一点,让我们使用《燃烧》(2018)的德版和美版蓝光片。 美版的蓝光有正确的色调层级,而德版的蓝光有不正确的色调层级。
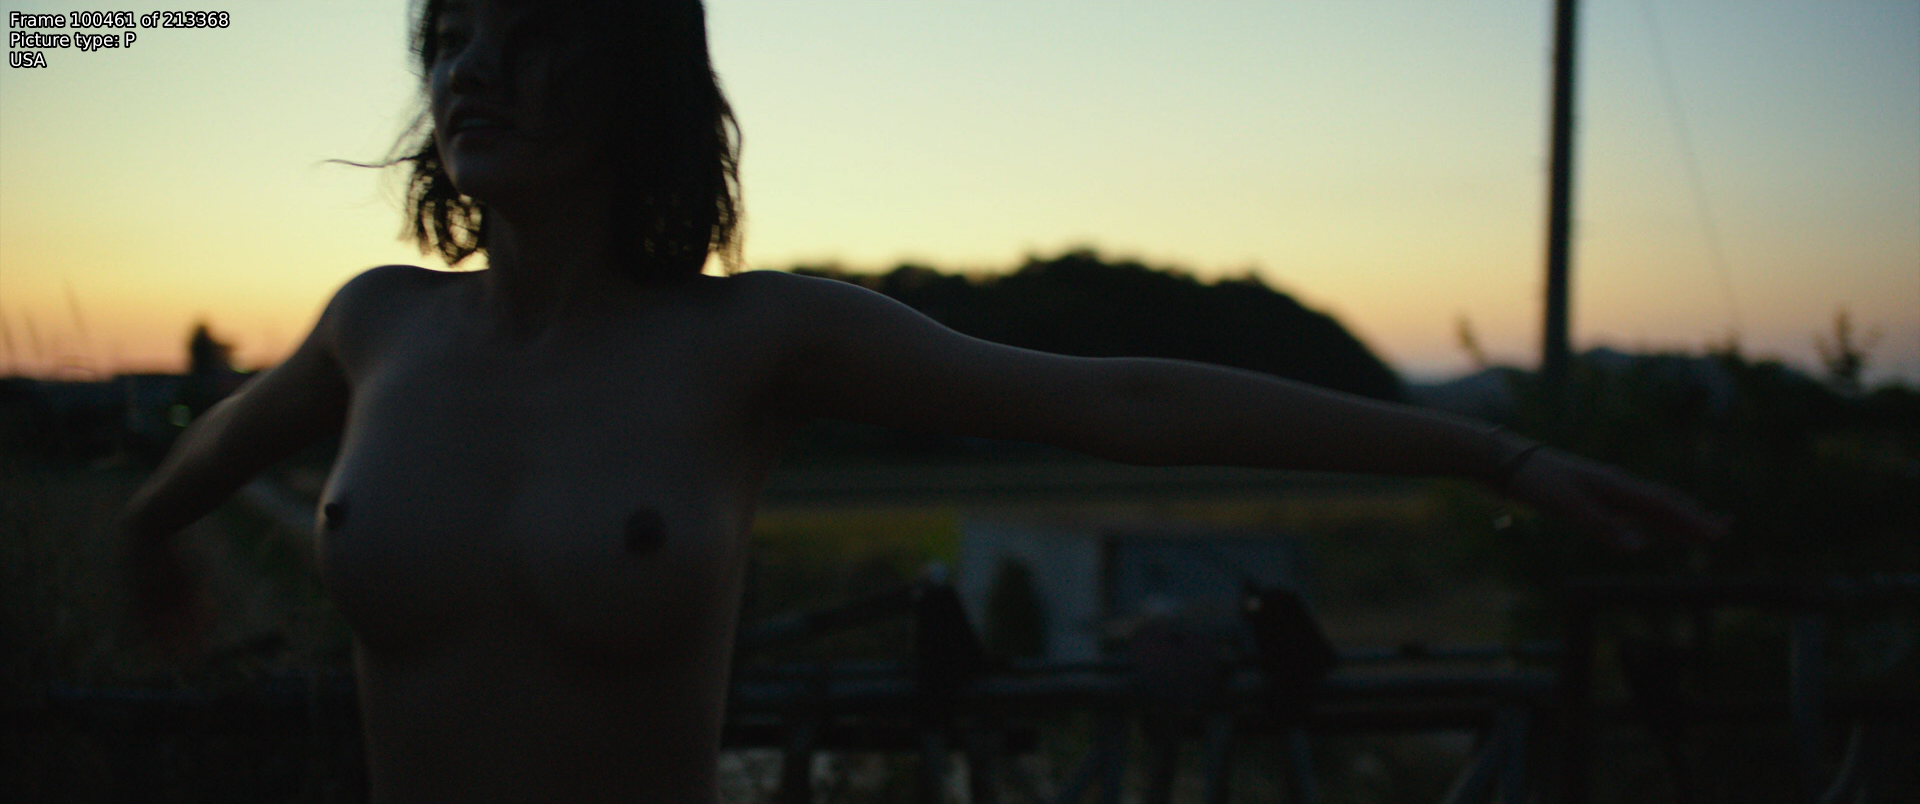
这里德版的高值是199,而美版的相同像素是207。 对于低值,我们可以找到29和27。 通过这些,我们得到18.6和225.4。 对更多的像素和不同的帧进行这些操作,然后取其平均值,我们得到19和224。 用这些值来调整luma,使我们更接近参考视频的1。

深入解释
看过前面解释的人应该认识到这个函数,因为它是用于色调水平调整的函数的逆向函数。 我们只需把它反过来,把我们的期望值设为 \(v_\mathrm{new}\)并进行计算。不恰当的颜色矩阵 Improper color matrix
如果你有一个不恰当的颜色矩阵的源,你可以用以下方法解决这个问题:
out = core.resize.Point(src, matrix_in_s='470bg', matrix_s='709')
The ’470bg’ is what's also known as 601. To know if you should be
doing this, you'll need some reference sources, preferably not web
sources. Technically, you can identify bad colors and realize that it's
necessary to change the matrix, but one should be extremely certain in such cases.
'470bg'也就是被称为601的东西。要弄清你是否应该这样做,你需要一些参考源,最好不是网络源。从技术上讲,你可以识别坏的颜色,并意识到有必要改变矩阵,但在这种情况下,你必须非常确定。
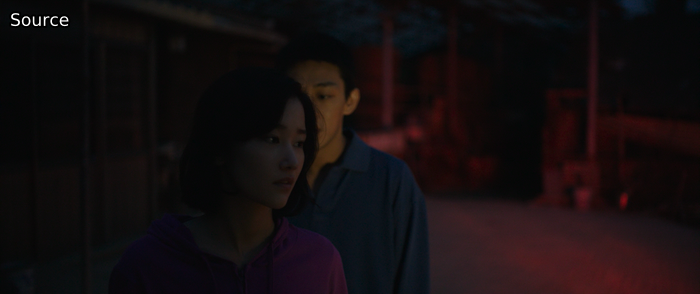
深入解释
颜色矩阵定义了YCbCr和RGB之间的转换是如何进行的。由于RGB显然没有任何子采样,剪辑首先从4:2:0转换为4:4:4,然后从YCbCr转换为RGB,然后再进行还原。在YCbCr到RGB的转换过程中,我们假设是Rec.601矩阵系数,而在转换回来的过程中,我们指定是Rec.709。之所以很难知道是否假设了不正确的标准,是因为两者涵盖了CIE 1931的类似范围。色度图会使这一点的差异更明显(包括Rec.2020作为参考):
取整错误 Rounding error
一点轻微的绿色色调可能表明发生了取整错误。 这个问题在亚马逊、CrunchyRoll等流媒体的源中特别常见。 为了解决这个问题,我们需要在比源更高的位深上增加半步。
high_depth = vsutil.depth(src, 16)
half_step = high_depth.std.Expr("x 128 +")
out = vsutil.depth(half_step, 8)
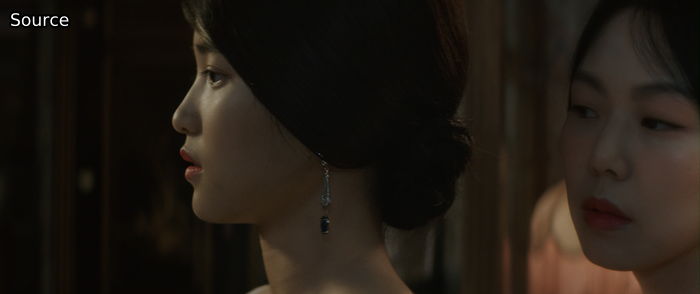
另外,也可以使用lvsfunc.misc.fix_cr_tint。
与上面的效果相同
Sometimes, sources will require slightly different values, although these will always be multiples of 16, with the most common after 128 being 64.
It is also not uncommon for differing values to have to be applied to each plane.
This is easily done with std.Expr by using a list of adjustments, where an empty one means no processing is done:
adjust = high_depth.std.Expr(["", "x 64 +", "x 128 +"])
深入解释
当剪辑工作室将他们的10位母盘变成8位时,他们的软件可能总是向下取整(例如1.9会被取整为1)。 我们解决这个问题的方法是简单的增加了一个8位的半步,如(0.5乘以2 ^ {16 - 8} = 128\)检测着色 gettint
gettint脚本可以用来自动检测一个色调是否由一个常见的错误引起。
要使用它,首先裁剪掉任何黑边、文本和任何其他可能不着色的元素。
然后,简单地运行它并等待结果:
$ gettint source.png reference.png
该脚本还可以接受视频文件,它将选择中间的帧,并使用自动裁剪来消除黑条。
如果没有检测到导致色调的常见错误,脚本将尝试通过伽玛、增益和偏移、或层级调整调整来匹配。
这里已经解释了所有这些的修复方法,除了增益和偏移,可以用std.Expr来修复:
gain = 1.1
offset = -1
out = core.std.Expr(f"x {gain} / offset -")
请注意,如果使用gamma bug修复(或fixlvls)中的gamma修复功能,来自gettint的gamma将需要被反转。
除着色 Detinting
请注意,只有在其他方法都失败的情况下,你才应该采用这种方法。
如果你有一个较好的有着色的源,和一个较差的没有着色的来源,而你想把它剔除,
你可以用 timecube 和 DrDre's Color Matching Tool2。
首先,在工具中添加两张参考截图,导出LUT,保存它,并通过类似的方式添加它:
clip = core.resize.Point(src, matrix_in_s="709", format=vs.RGBS)
detint = core.timecube.Cube(clip, "LUT.cube")
out = core.resize.Point(detint, matrix=1, format=vs.YUV420P16, dither_type="error_diffusion")
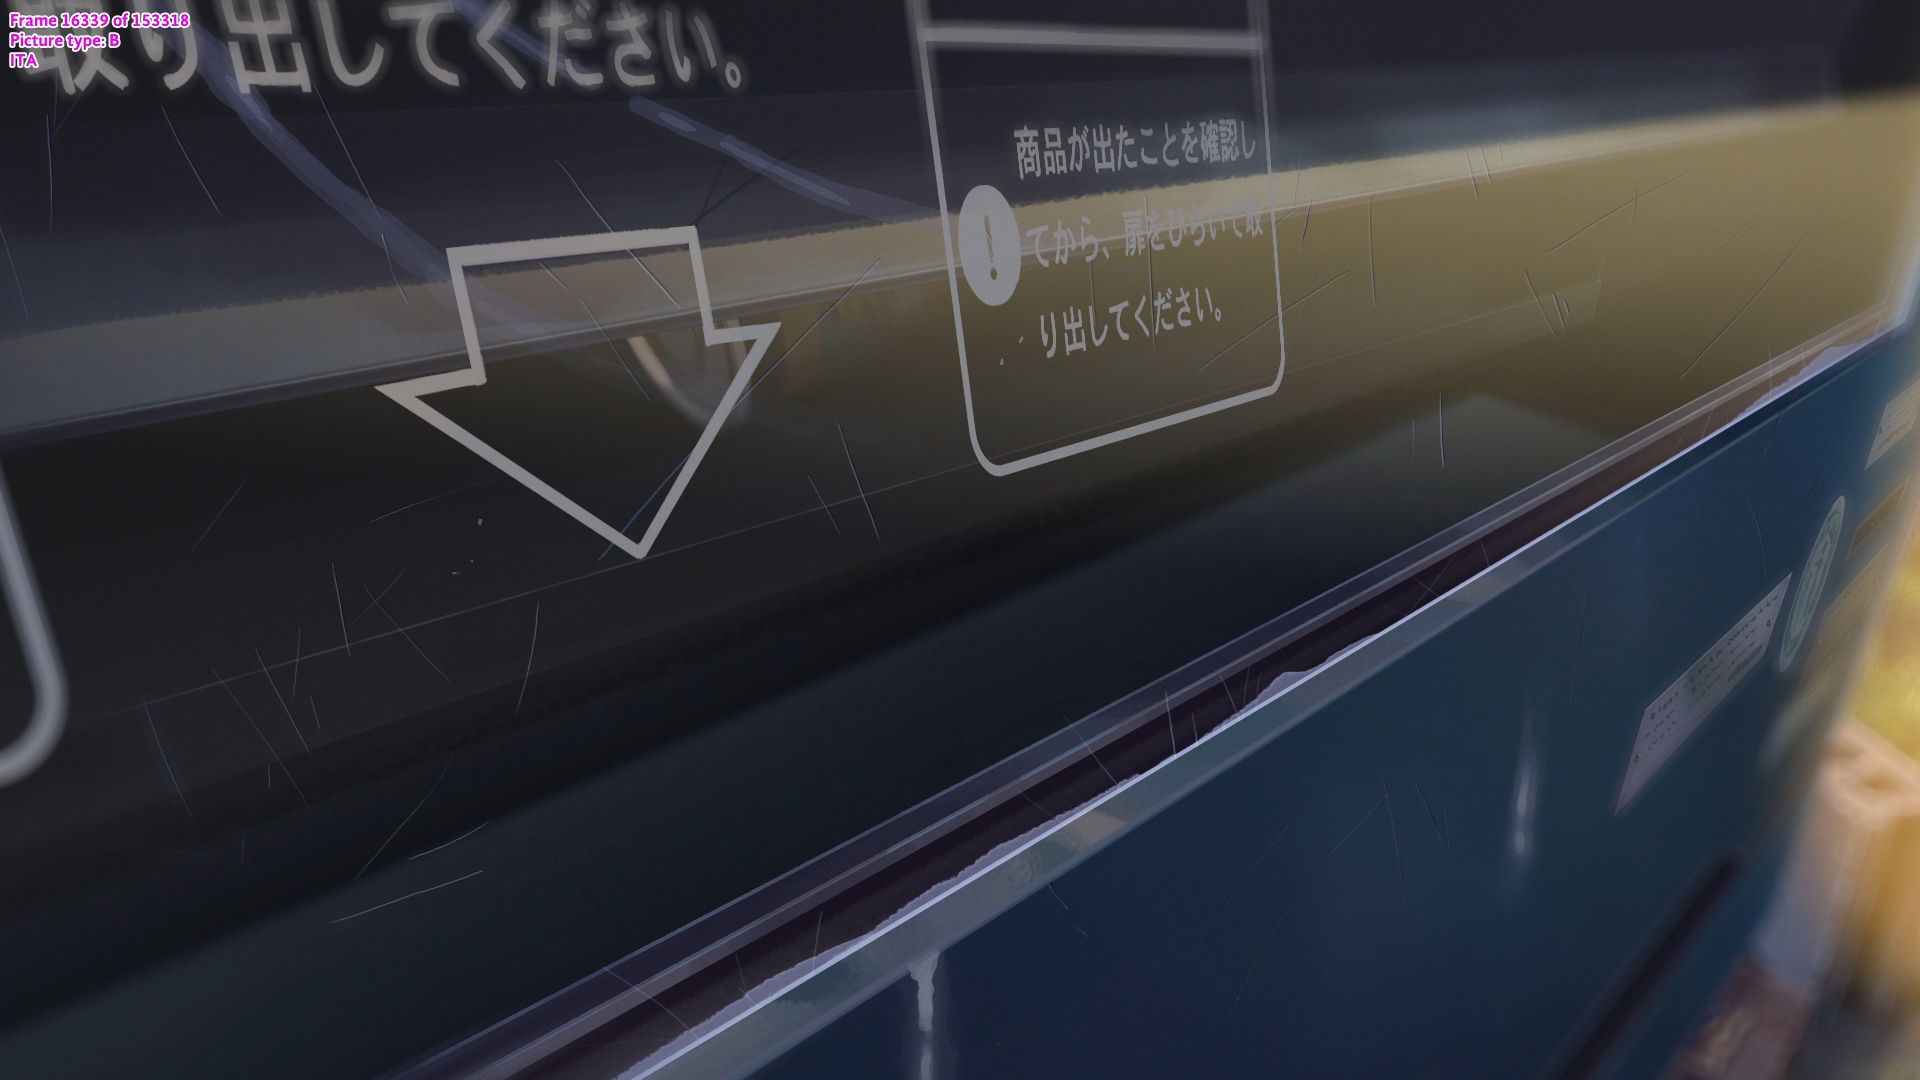
为了简单起见,这里没有涉及色度平面。 这些需要做的工作远远多于luma平面,因为很难找到非常鲜艳的颜色,尤其是像这样的截图。 2: 令人遗憾的是,这个程序是闭源的。 我不知道有什么替代品。